Hello Everyone!!!
Had been MIA for long..... Nothing new u say? :/
Yup! U have a point... No escape now.... Its a part of me now... & will remain so for quite sometime now....
Since I came back to Ranchi from Bangalore after a very long stay, due to my treatments in the process, the kitty group here @ Ranchi {I was coaxed into being a part of, after moving to Ranchi, for the first time in my life ever} asked me to host my kitty since I was healthy this time & since I wud b MIA again; Whoa!!!!
I knew it wud eat my time I had in hand, but again no escape; I had to 'cuz I had to :P
And this group comprises of aunties from my building where I reside & around.... {BORE!} Had attended theirs where I wud b alive mostly over the dining table.... :P {Food} But since I was hosting this month, I was determined that I wanted to make it lively than the one's I had been to.... And being a Paper Crafter, what better opportunity to show off a lil of your Paper Crafting skills to these aunties who yap a lot, ALWAYS!!!
And that was when I got my opening to Paper Crafts after a long long time.... I was actually yearning for a reason to craft.... And was given one!
Firstly, indulged in some handmade Kitty Party Invites; A lil stamping & a lil assembling of die cut work got my invites ready to be appreciated by ALL :D
And since here @Ranchi the awareness is nil as far as Paper Crafts are concerned, it gave me the perfect scope to create some.... There were many lil things I indulged in, but here I am wanting to share how I created my invites!
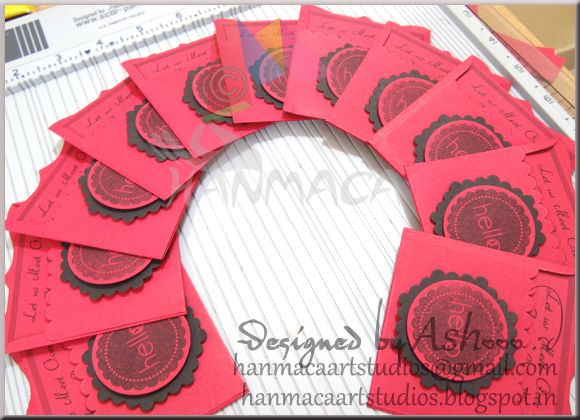
And here is a look of the invites:

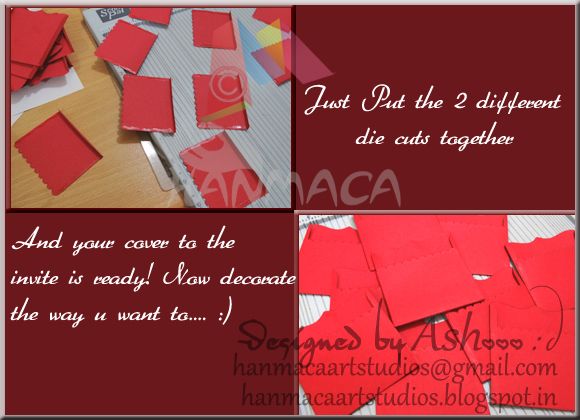
Now lets get on with the making to them...... I used the dies from Itsy Bitsy towards achieving my small invite covers... Two different dies from the same set..... After I had the two pieces in hand, scored them in a way that those pieces put together would serve my purpose!
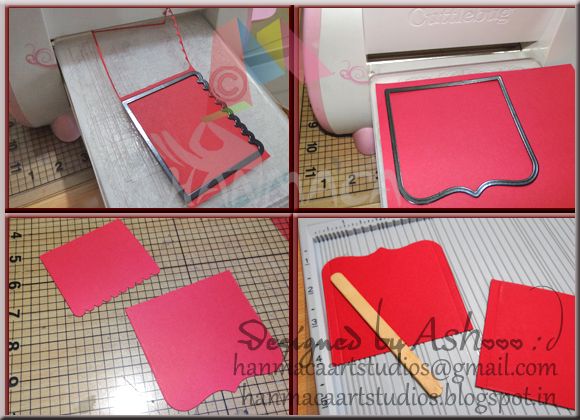
Scored, creased the fold & applied fevi bond & put it aside to dry.... After which I glued the two pieces together & VOILA! there I get my final cover for the invite :)
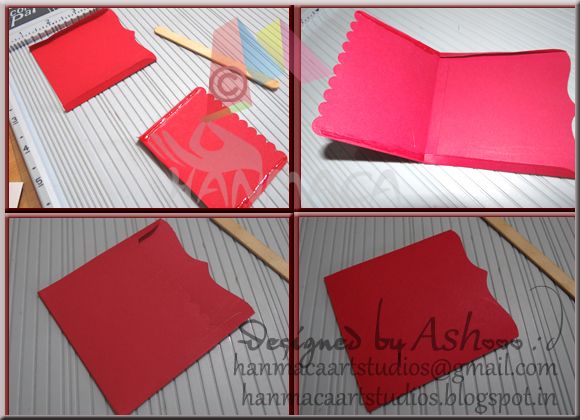
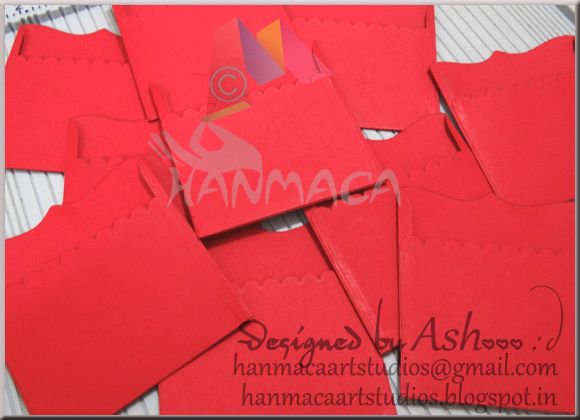
The finally made covers!!!
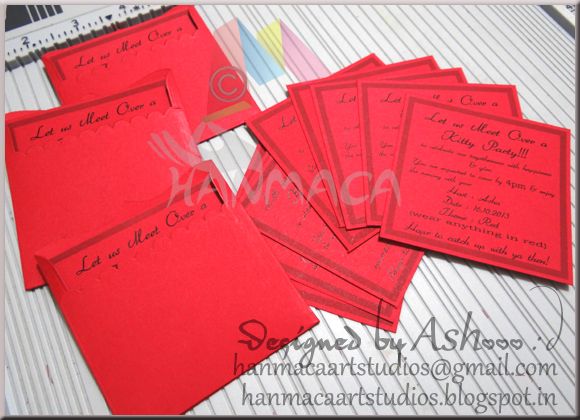
I had photoshoped the matter to the invite & printed them out directly onto thin red cardstock... After which I trimmed off the edges to help them go into the approximately 3X3 inches cover....
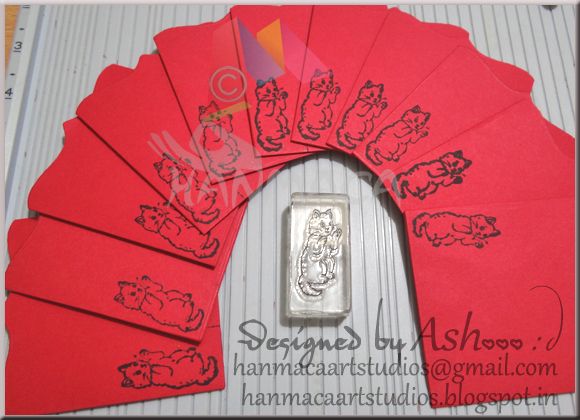
I stamped a Kitty Cat on the wrong side of the covers.... to suit the purpose it was made for.... :)
Those are the ready covers..... Now all it wanted was a lil decor to give it the required handmade look!

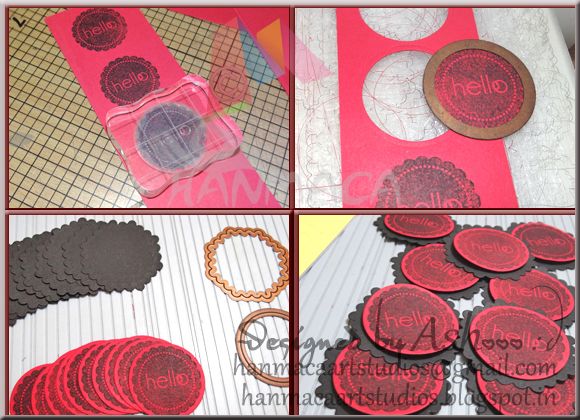
Here's how I achieved it! Stamped a hello stamp; and cut them out with the circle die cut..... after which I adhered the pieces together with pop dots.... And they went on the front of the cover to complete my invites!
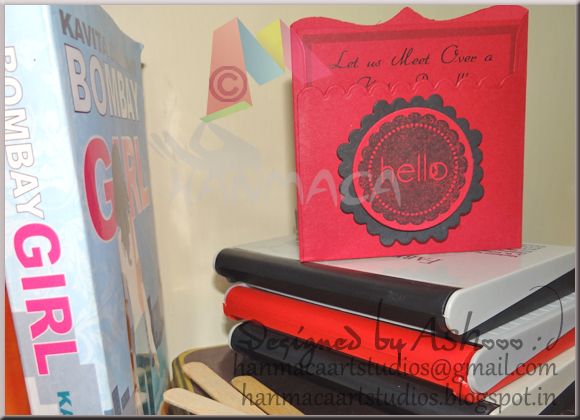
Ready Invite!!!
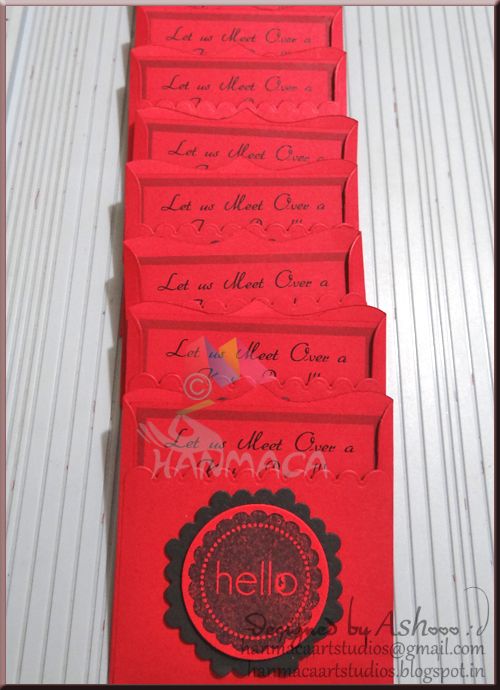
Invites just arranged horizontally for an angled shot.....
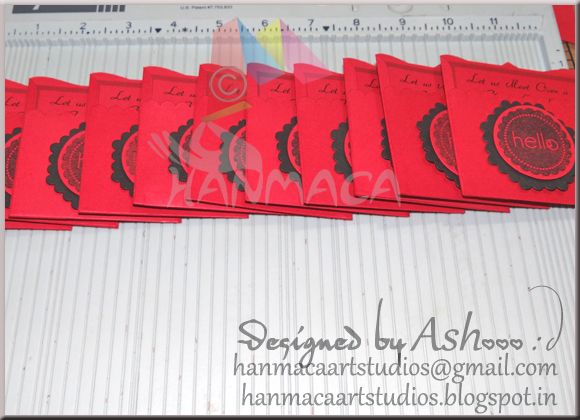
Invites arranged horizontally :)
So there goes the red themed Kitty Party Invites!!!
I was definitely happy to have indulged in crafting after a long long time..... :D
Hoping to b back sooner with any other indulgence, shortly!!!
UNTIL NEXT, KEEP THE FAITH!!!

Had been MIA for long..... Nothing new u say? :/
Yup! U have a point... No escape now.... Its a part of me now... & will remain so for quite sometime now....
Since I came back to Ranchi from Bangalore after a very long stay, due to my treatments in the process, the kitty group here @ Ranchi {I was coaxed into being a part of, after moving to Ranchi, for the first time in my life ever} asked me to host my kitty since I was healthy this time & since I wud b MIA again; Whoa!!!!
I knew it wud eat my time I had in hand, but again no escape; I had to 'cuz I had to :P
And this group comprises of aunties from my building where I reside & around.... {BORE!} Had attended theirs where I wud b alive mostly over the dining table.... :P {Food} But since I was hosting this month, I was determined that I wanted to make it lively than the one's I had been to.... And being a Paper Crafter, what better opportunity to show off a lil of your Paper Crafting skills to these aunties who yap a lot, ALWAYS!!!
And that was when I got my opening to Paper Crafts after a long long time.... I was actually yearning for a reason to craft.... And was given one!
Firstly, indulged in some handmade Kitty Party Invites; A lil stamping & a lil assembling of die cut work got my invites ready to be appreciated by ALL :D
And since here @Ranchi the awareness is nil as far as Paper Crafts are concerned, it gave me the perfect scope to create some.... There were many lil things I indulged in, but here I am wanting to share how I created my invites!
And here is a look of the invites:

Now lets get on with the making to them...... I used the dies from Itsy Bitsy towards achieving my small invite covers... Two different dies from the same set..... After I had the two pieces in hand, scored them in a way that those pieces put together would serve my purpose!
Scored, creased the fold & applied fevi bond & put it aside to dry.... After which I glued the two pieces together & VOILA! there I get my final cover for the invite :)
The finally made covers!!!
I had photoshoped the matter to the invite & printed them out directly onto thin red cardstock... After which I trimmed off the edges to help them go into the approximately 3X3 inches cover....
I stamped a Kitty Cat on the wrong side of the covers.... to suit the purpose it was made for.... :)
Those are the ready covers..... Now all it wanted was a lil decor to give it the required handmade look!
Here's how I achieved it! Stamped a hello stamp; and cut them out with the circle die cut..... after which I adhered the pieces together with pop dots.... And they went on the front of the cover to complete my invites!
Ready Invite!!!
Invites just arranged horizontally for an angled shot.....
Invites arranged horizontally :)
So there goes the red themed Kitty Party Invites!!!
I was definitely happy to have indulged in crafting after a long long time..... :D
Hoping to b back sooner with any other indulgence, shortly!!!
UNTIL NEXT, KEEP THE FAITH!!!
